Step 1 - Adding applications
Let us build a simple workflow as an exercise! 🛠️
If you have never set up a workflow before we encourage you to follow the steps in this guide to create a simple workflow yourself, using the Test app.
The Test app provides dummy data, so there is no risk involved.
The first step to building a workflow on Canvas would be to add and authenticate the apps you want to connect.
Note that the apps and workflows should ideally added to separate accounts for each client, and not to your own personal account. If you are building an integration for a client you will want to register the apps/workflows directly on the client's account.
As a Canvas Partner, may recieve admin privileges for your organization, giving you a full overview of all your clients' accounts. This article explains how you can manage a client account to set up integrations on their separate account.
Since we are building this workflow as a simple exercise you can feel free to set it up on your personal account.
We will be using the "Test" app to play around on Canvas, as it simply provides dummy data for testing purposes. No authentication necessary.
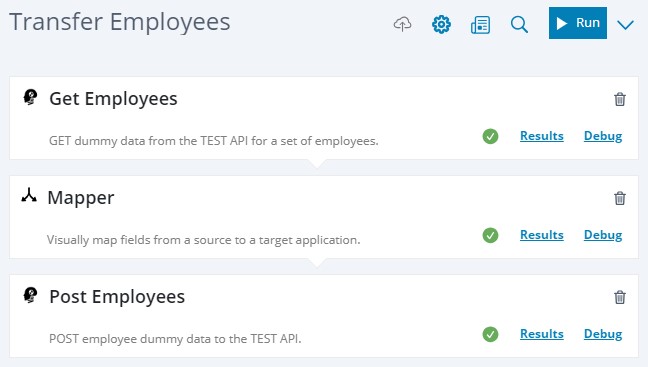
For this exercise, let us create a simple workflow that will pull dummy data for employees from the Test API, transform the data using the Mapper block, and send the updated employee data back to the same Test API.
The end result will look like this:
Although this is just a simple example workflow, the steps we will go through will generally be the same whether you are integrating HR, ERP, CRM, e-commerce, BI, or a wide range of other applications.
These are the steps:
- In step 1 we will register the Test app on your account.
- In step 2 we will create a new workflow, and add/configure the blocks needed
- In step 3 we will schedule the workflow to run on a fixed interval
Adding the Test app
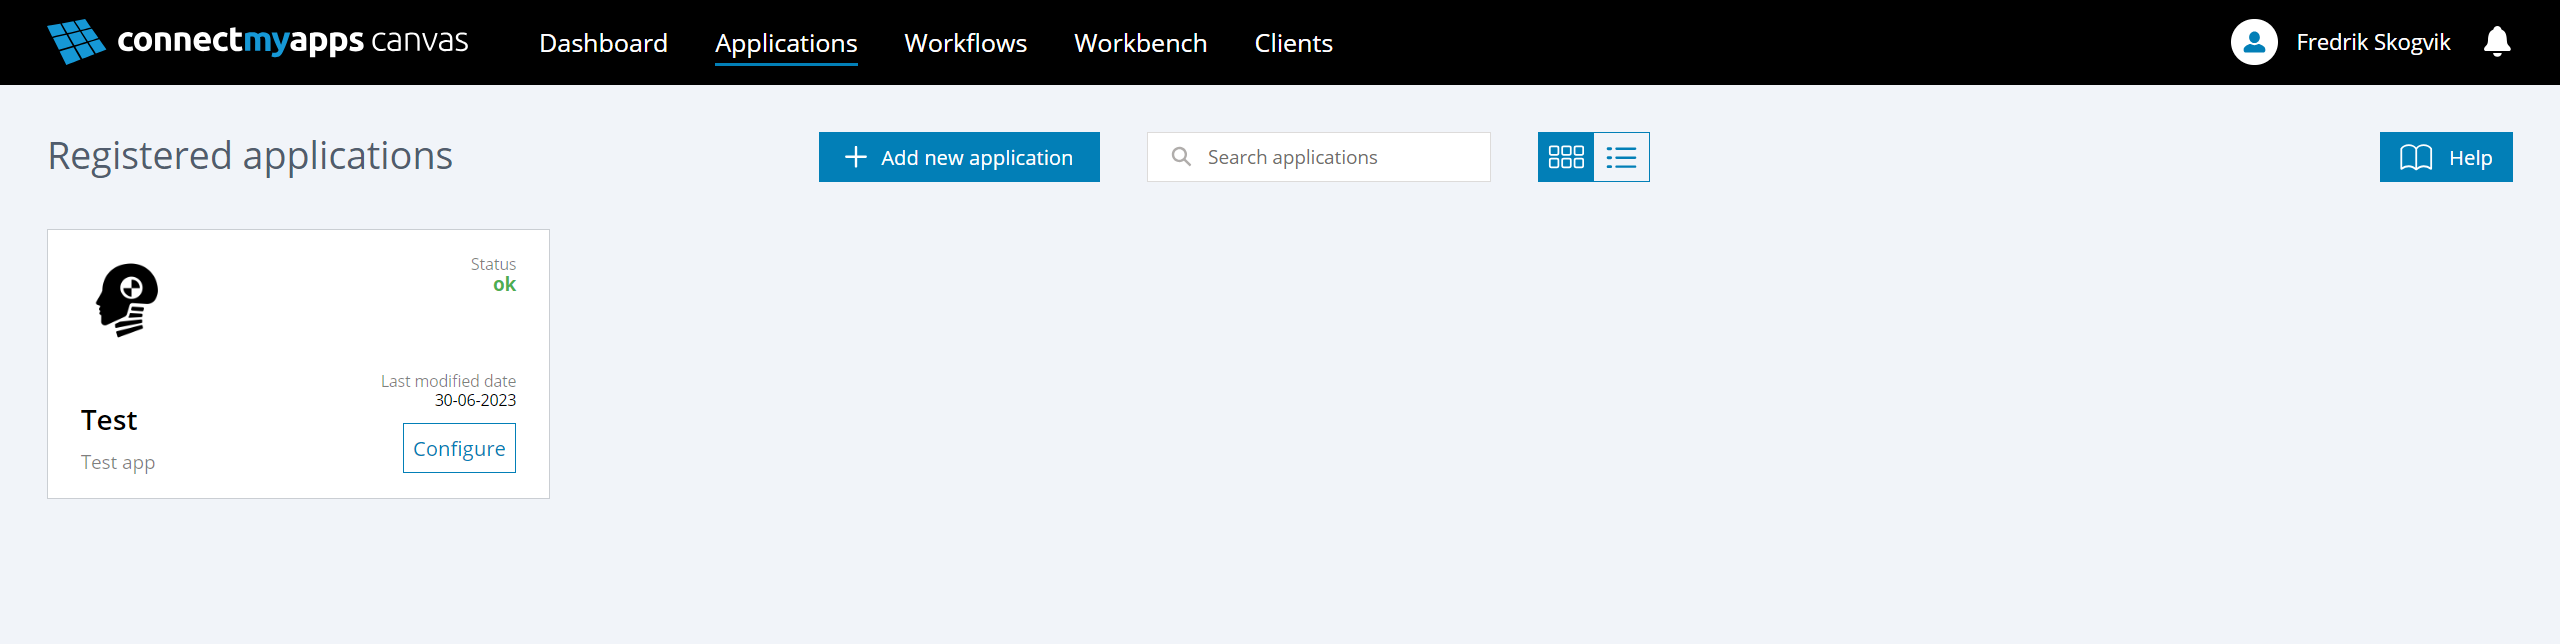
To add an application to the user account, go to the Applications section and click the “Add new appliaction” button at the top of the screen:

Search for the Test app. The Test app does not require any API credentials - you can simply add it to the account (by clicking "Configure", then "Save & Authenticate").
The Test application is then registered on your account, ready for use in a workflow:
You can now proceed to the next step to create a workflow