Testing Webhooks
Testing Webhooks
You can test webhooks from your source application, or from a tool like Postman. In this article we will use Postman.
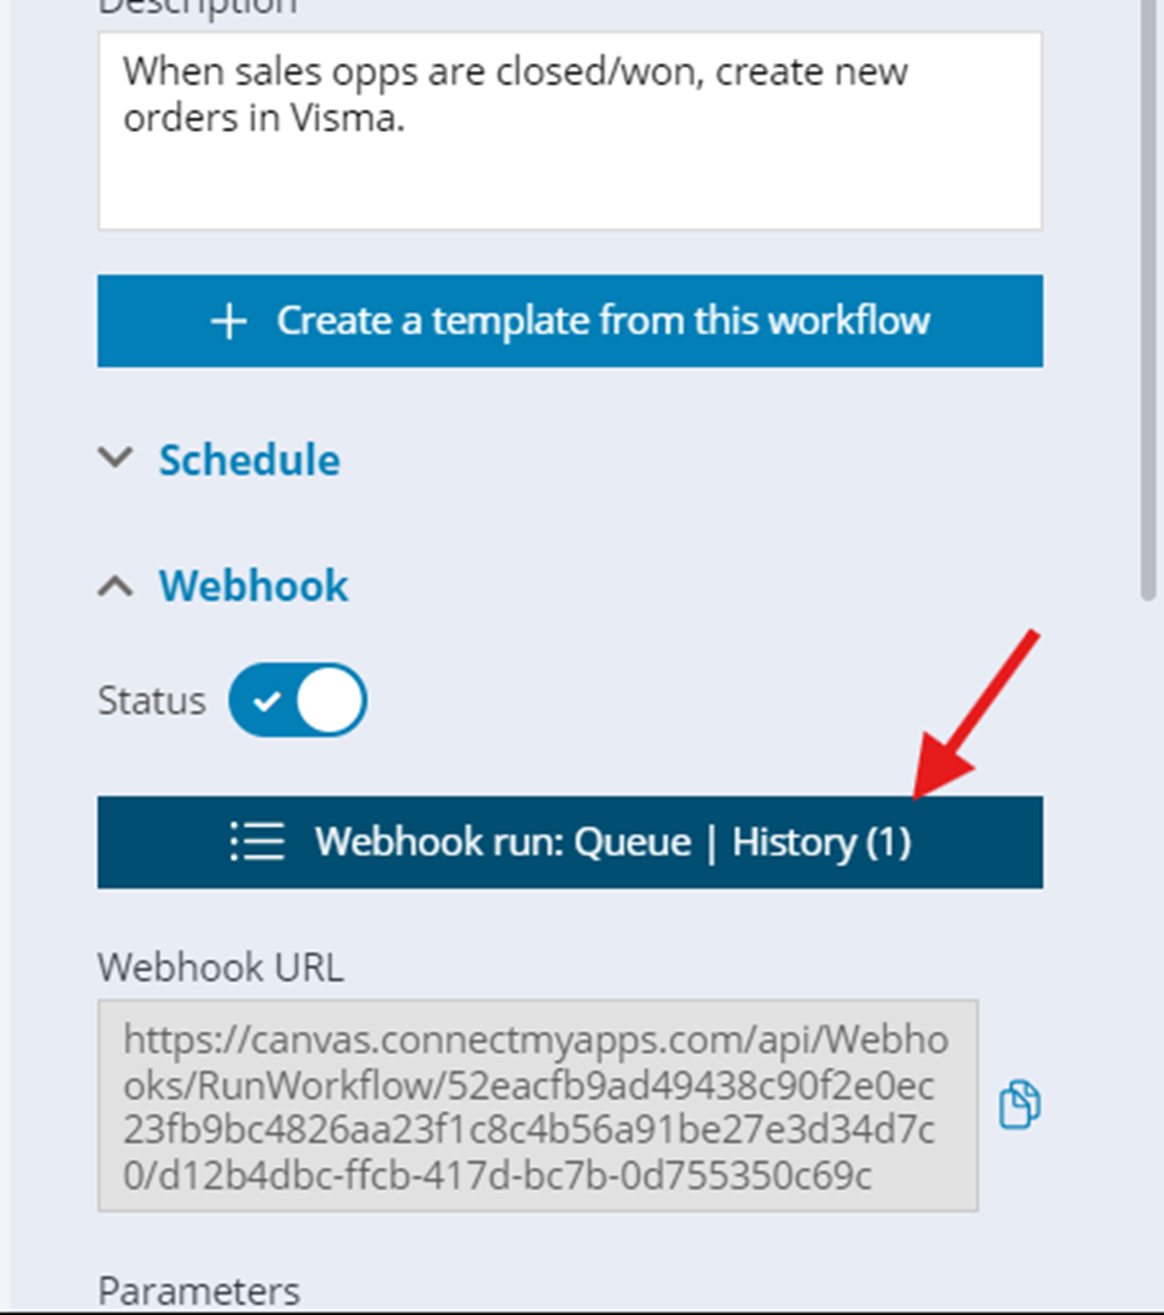
- Copy the webhook url from the workflow “Webhook” settings.
- Create a POST request to the url in Postman, pushing an example of your data.

You should receive a 200 OK response with the following message:
{
    "state": 3,
    "details": "Running on pause.."
}
This means that the webhook was received but was stored, not processed. Returning to our workflow, we can view the received data via the “Queue : History” button.

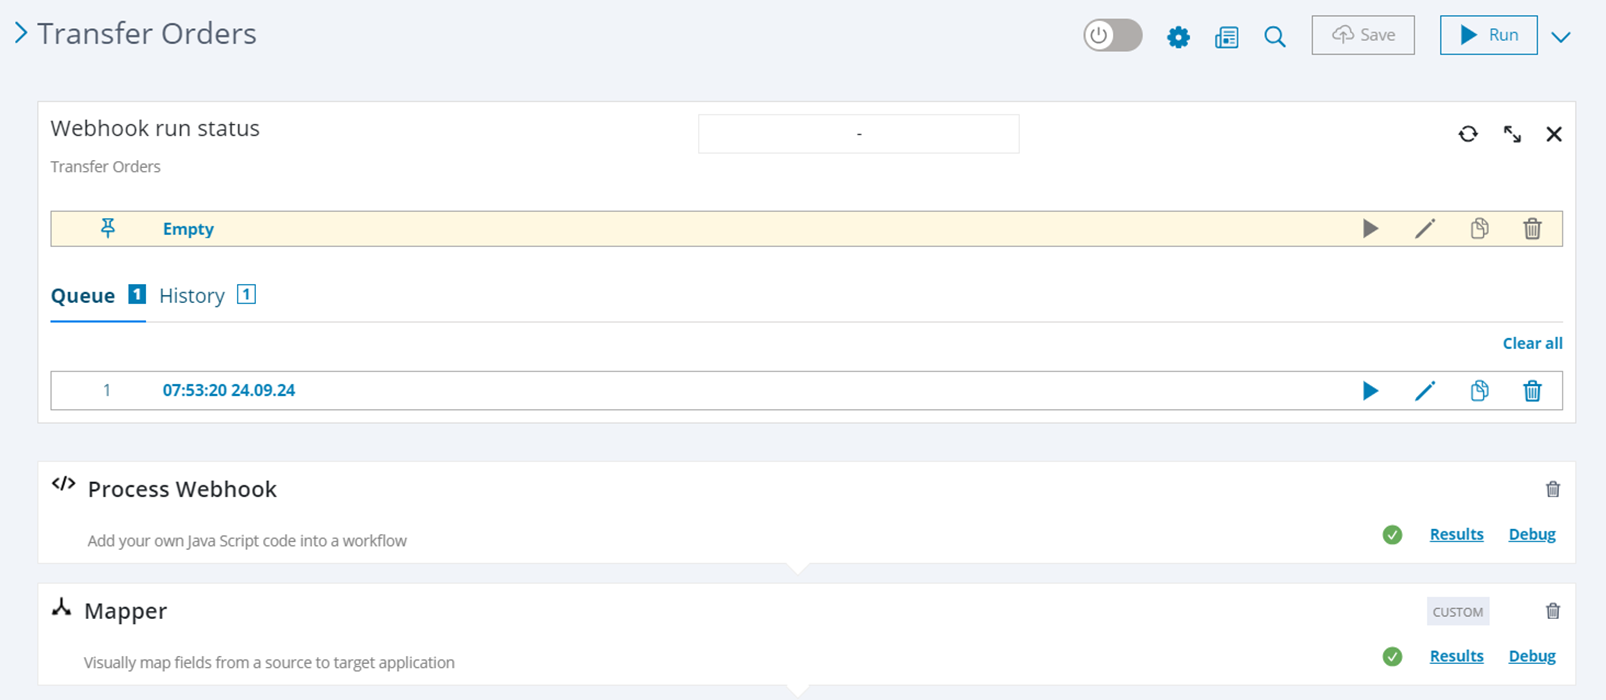
This opens the “Webhook run status” view at the top of the workflow, where we can see workflows stored in a queue and those processed, in the history tab.

To view the webhook event we just sent from Postman, click on the “pencil” icon on the event in the queue.

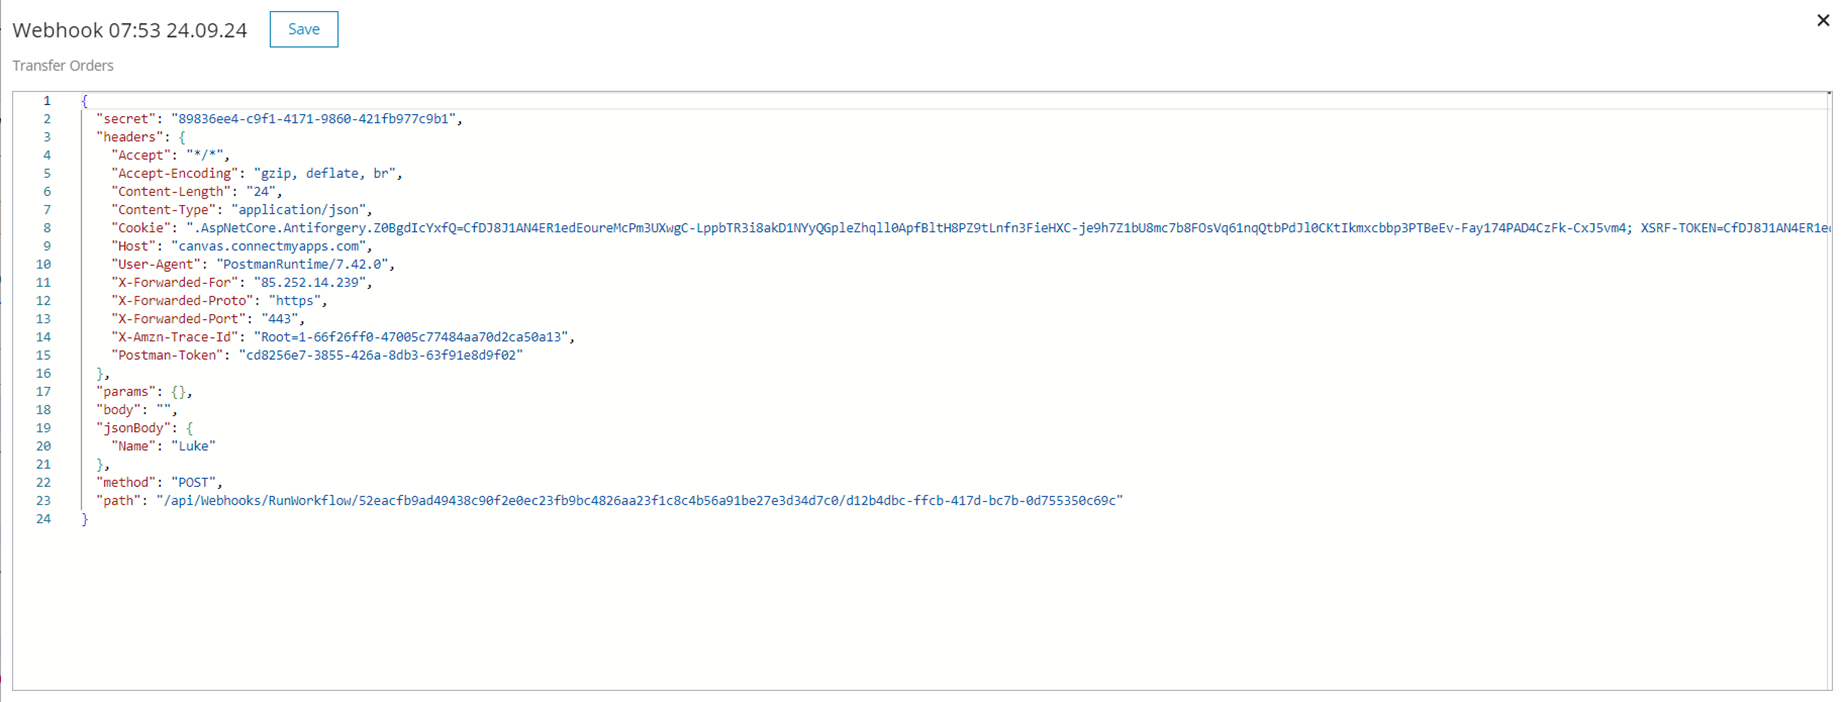
You will see the webhook event in the editor window.

The event is a JSON object of the entire request, including headers, any url parameters, jsonBody of the payload and HTTP verb. Note! It is possible to edit webhook content in the editor, if you wish to test different values. Once you have made your changes, click “Save” on the top of the editor.