Getting started with Webhooks
Getting Started
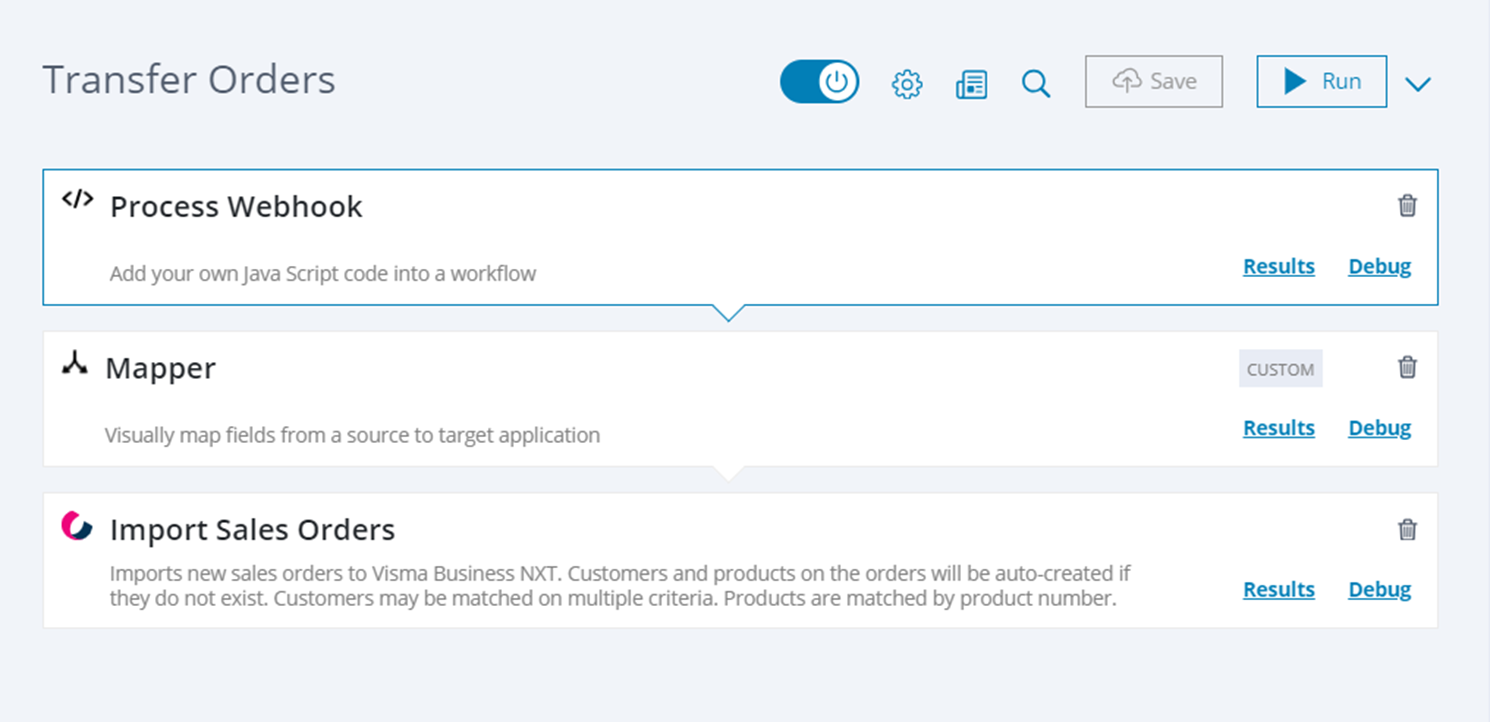
To get started, you create your workflow in the normal way in the Canvas workflow builder but with one exception. Instead of the first block in the workflow checking the application for data, as you would if the workflow was to run on schedule, you add a custom code block as a handler for the webhook event. See the example below of a simple 3 step workflow. The workflow will listen for webhook events from an external application, then map and import them as sales orders in the final block. Here are the blocks:
- “Process Webhook” is a custom code block that will be the handler of the webhook event.
- “Mapper” will receive the data from the webhook and map it to the input format of the “Import Sales Orders” block.
- “Import Sales Orders” will import the data output by “Mapper”.

Enabling Webhook Listener
By default workflows do not listen for webhook events. This must be enabled on the workflow. To enable listening, do as follows:
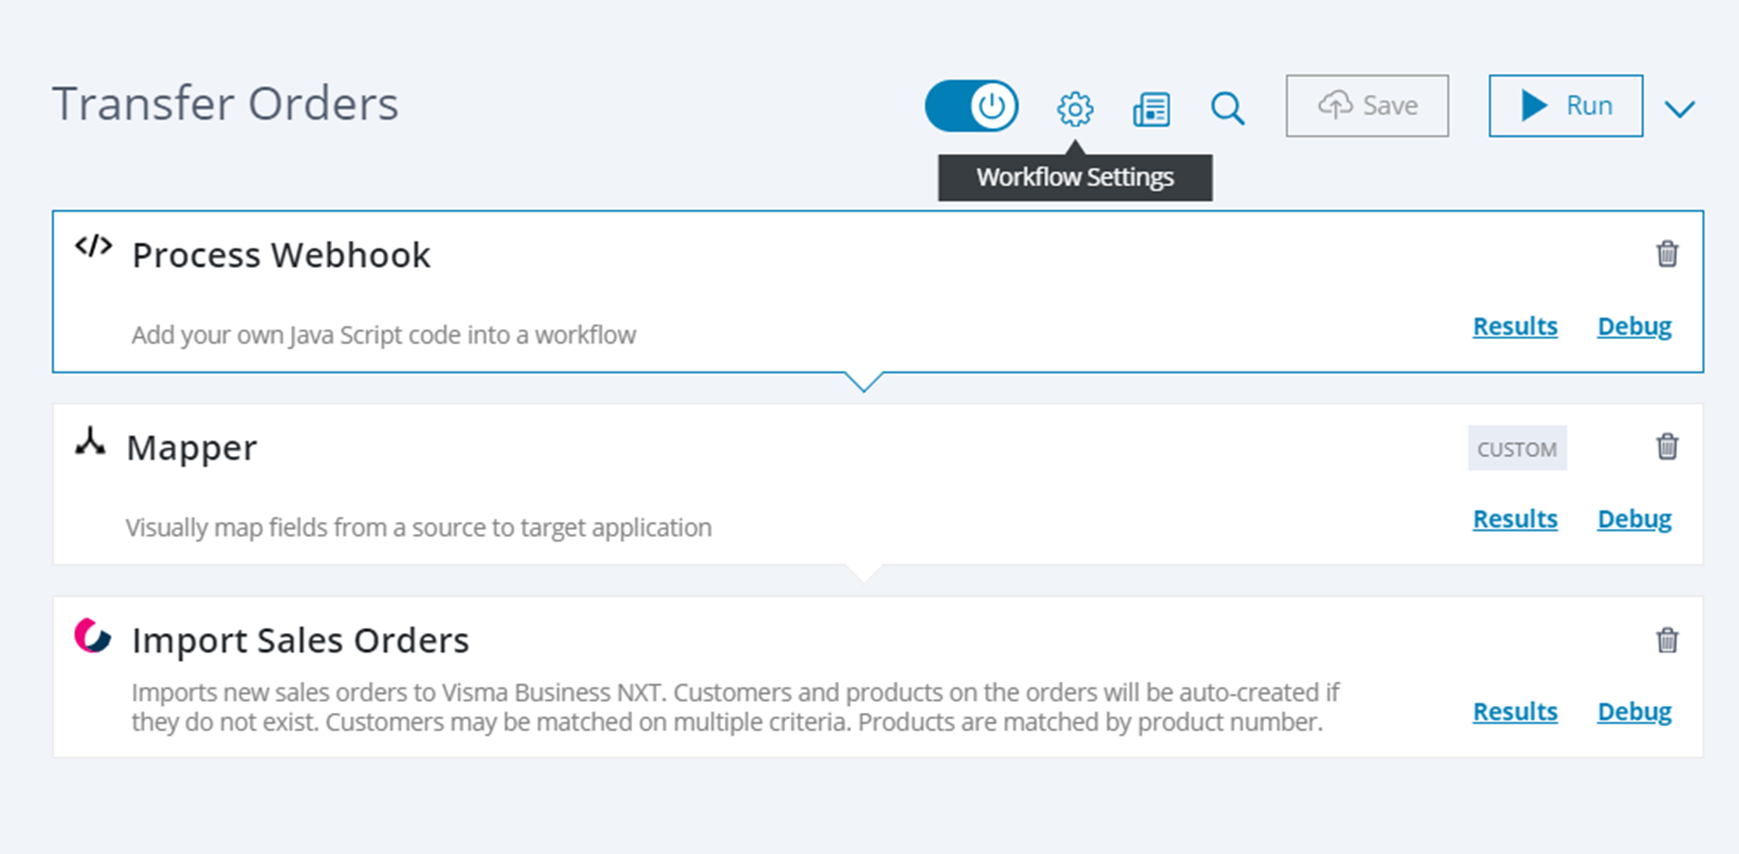
- Go to “workflow settings”.

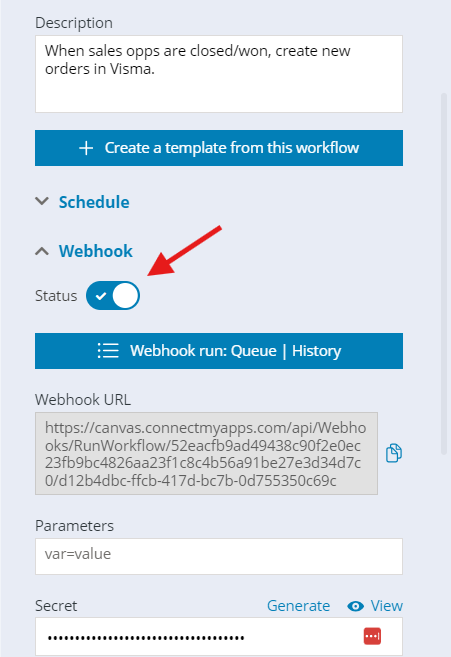
- Under submenu “Webhooks”, click the status slider to “on”. The workflow will now “listen” for webhook events.

In the Webhook menu you will see the “Webhook URL”. This is the unique webhook URL for your workflow. This is the URL your external application needs to push webhook events to be processed by the workflow.
Autorun
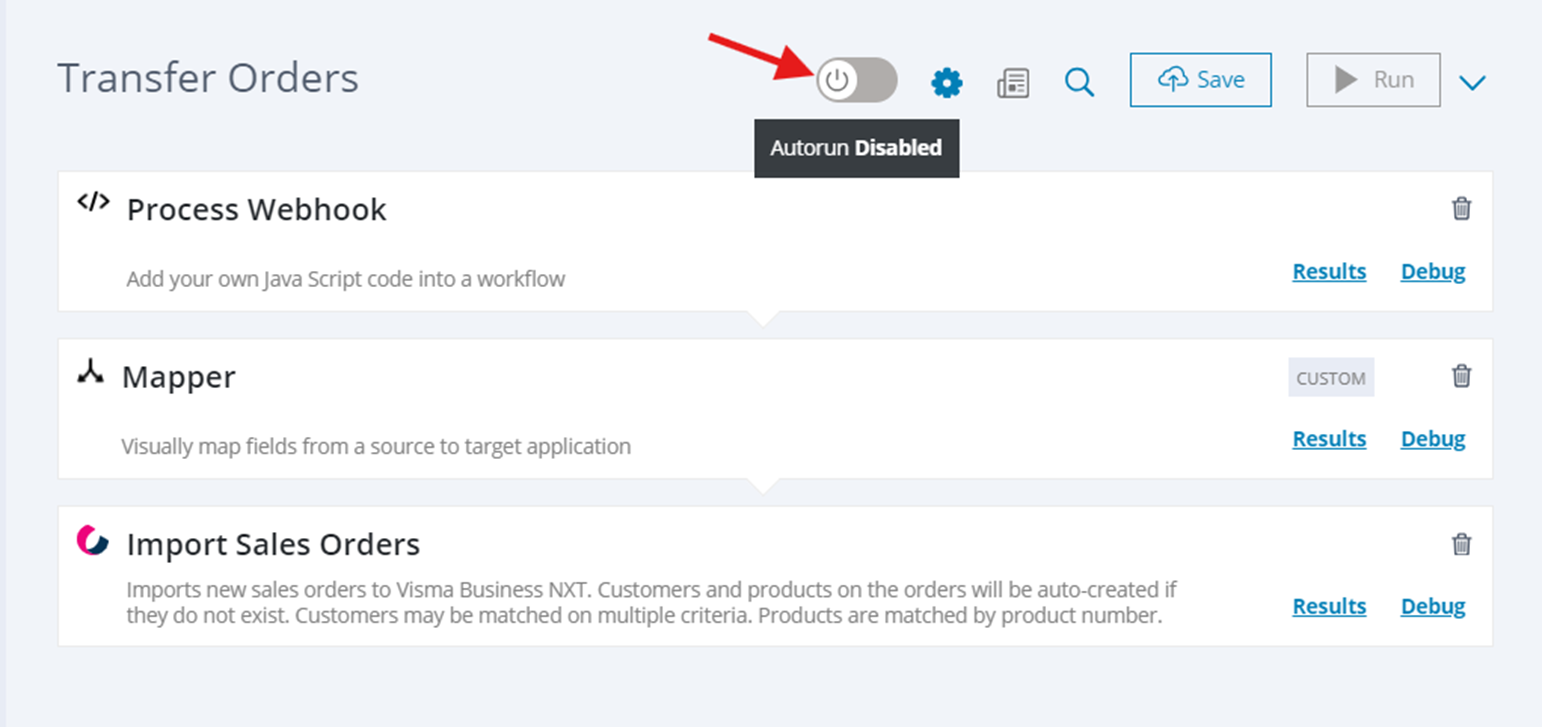
Once you enable the webhook listener, by default your workflow will run when any webhook events are received. When developing your workflow, this is not what you want. Instead, you want the workflow to not process but store webhook events received until you are finished. To stop your workflow from processing automatically while you are developing, click the top “Autorun” slider to “off”.

Your Webhook is now enabled, and you can proceed to testing it.